Quest 3 Review – A Great Headset Waiting to Reach Its Potential
Following Quest 2 almost three years to the day, Quest 3 is finally here. Meta continues its trend of building some of the best VR hardware out there, but it will be some time yet before the headset’s potential is fully revealed. Read on for our full Quest 3 review.
I wanted to start this review saying that Quest 3 feels like a real next-gen headset. And while that’s certainly true when it comes to hardware, it’ll be a little while yet before the software reaches a point that it becomes obvious to everyone. Although it might not feel like it right out of the gate, even with the added price (starting at $500 vs. Quest 2 at $300), I’m certain the benefits will feel worth it in the end.
Quest 3’s hardware is impressive, and a much larger improvement than we saw from Quest 1 to Quest 2. For the most part, you’re getting a better and cheaper Quest Pro, minus eye-tracking and face-tracking. And to put it clearly, even if Quest Pro and Quest 3 were the same price, I’d pick Quest 3.
Before we dive in, here’s a look at Quest 3’s specs for reference:
| Resolution |
2,064 × 2,208 (4.5MP) per-eye, LCD (2x) |
| Refresh Rate |
90Hz, 120Hz (experimental) |
| Optics |
Pancake non-Fresnel |
| Field-of-view (claimed) | 110ºH × 96ºV |
| Optical Adjustments |
Continuous IPD, stepped eye-relief (built in) |
| IPD Adjustment Range | 53–75mm |
| Processor |
Snapdragon XR2 Gen 2 |
| RAM | 8GB |
| Storage | 128GB, 512GB |
| Connectors |
USB-C, contact pads for optional dock charging |
| Weight | 515g |
| Battery Life | 1.5-3 hours |
| Headset Tracking |
Inside-out (no external beacons) |
| Controller Tracking |
Headset-tracked (headset line-of-sight needed) |
| Expression Tracking | none |
| Eye Tracking | none |
| On-board cameras | 6x external (18ppd RGB sensors 2x) |
| Input |
Touch Plus (AA battery 1x), hand-tracking, voice |
| Audio |
In-headstrap speakers, 3.5mm aux output |
| Microphone | Yes |
| Pass-through view | Yes (color) |
| MSRP |
$500 (128GB), $650 (512GB) |
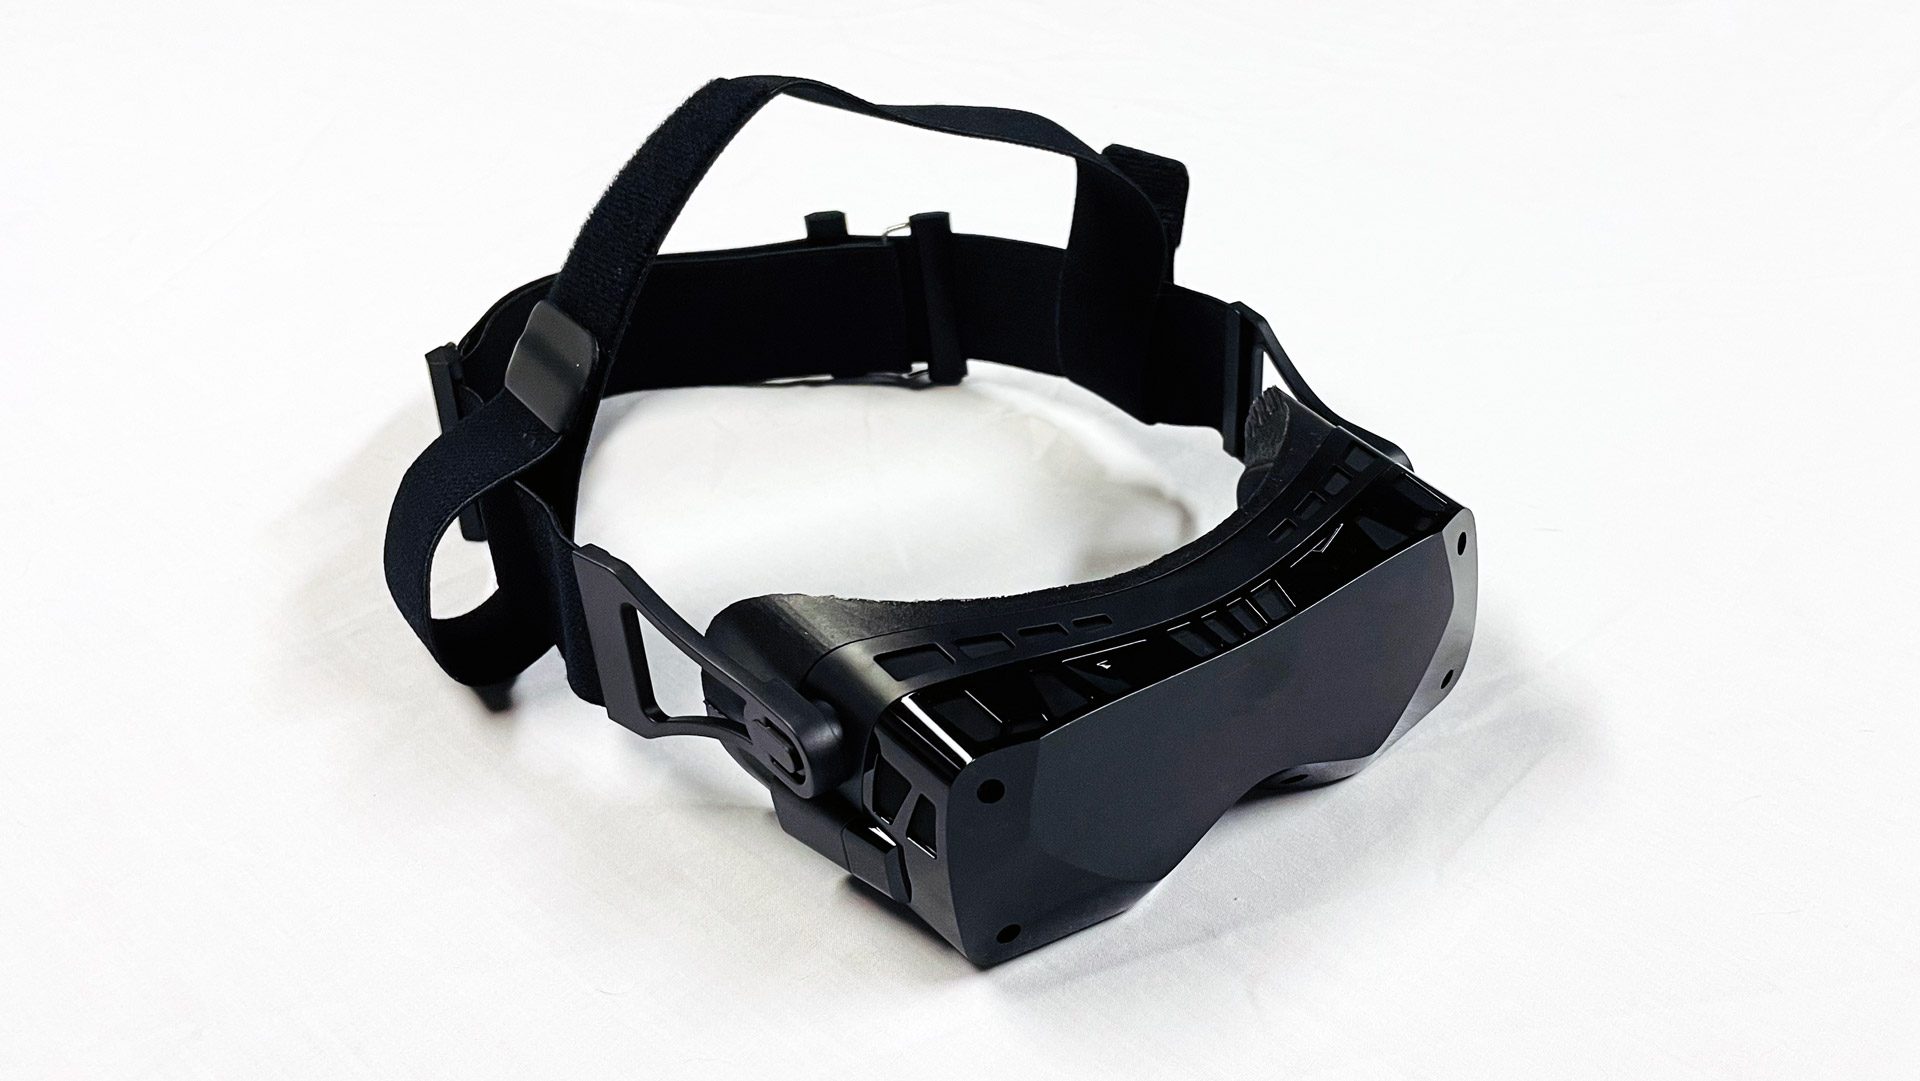
Hardware
Even if the software isn’t fully tapping the headset’s potential yet, Meta has packed a lot of value into the Quest 3 hardware.
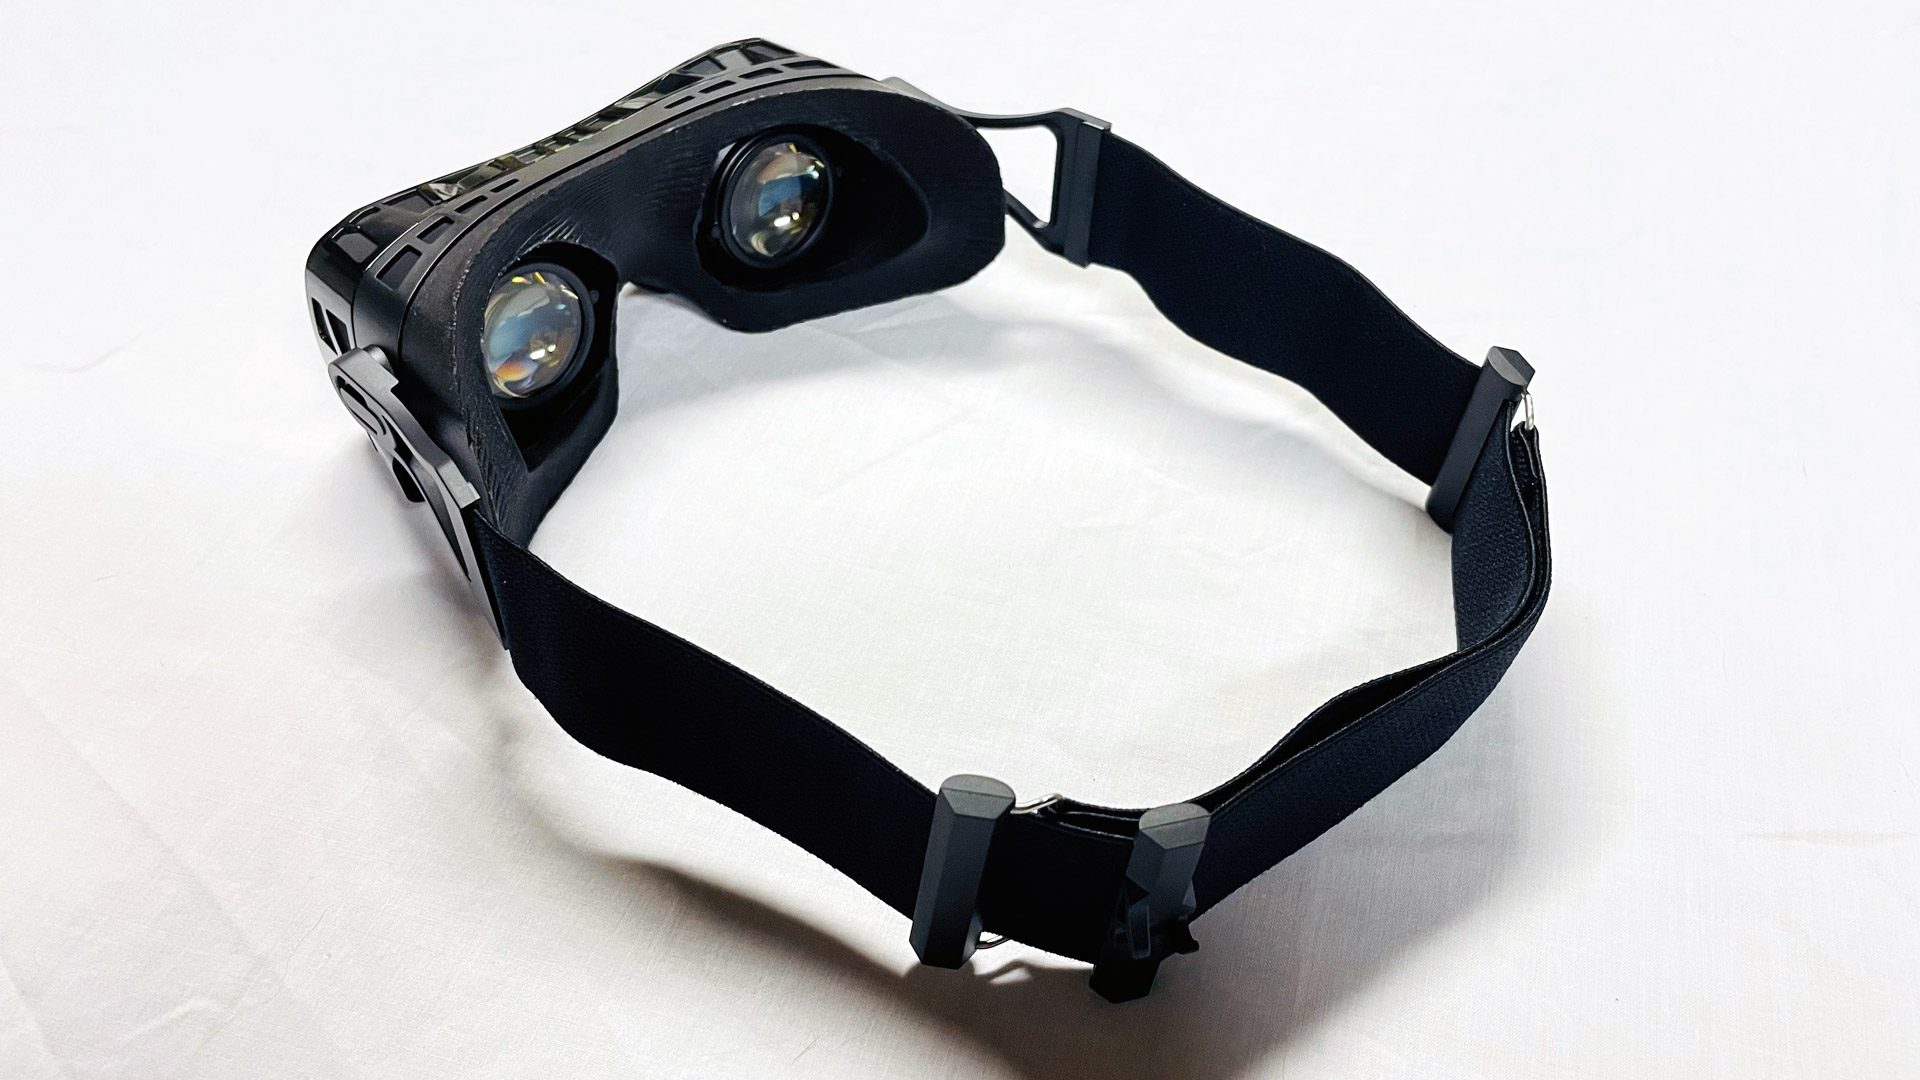
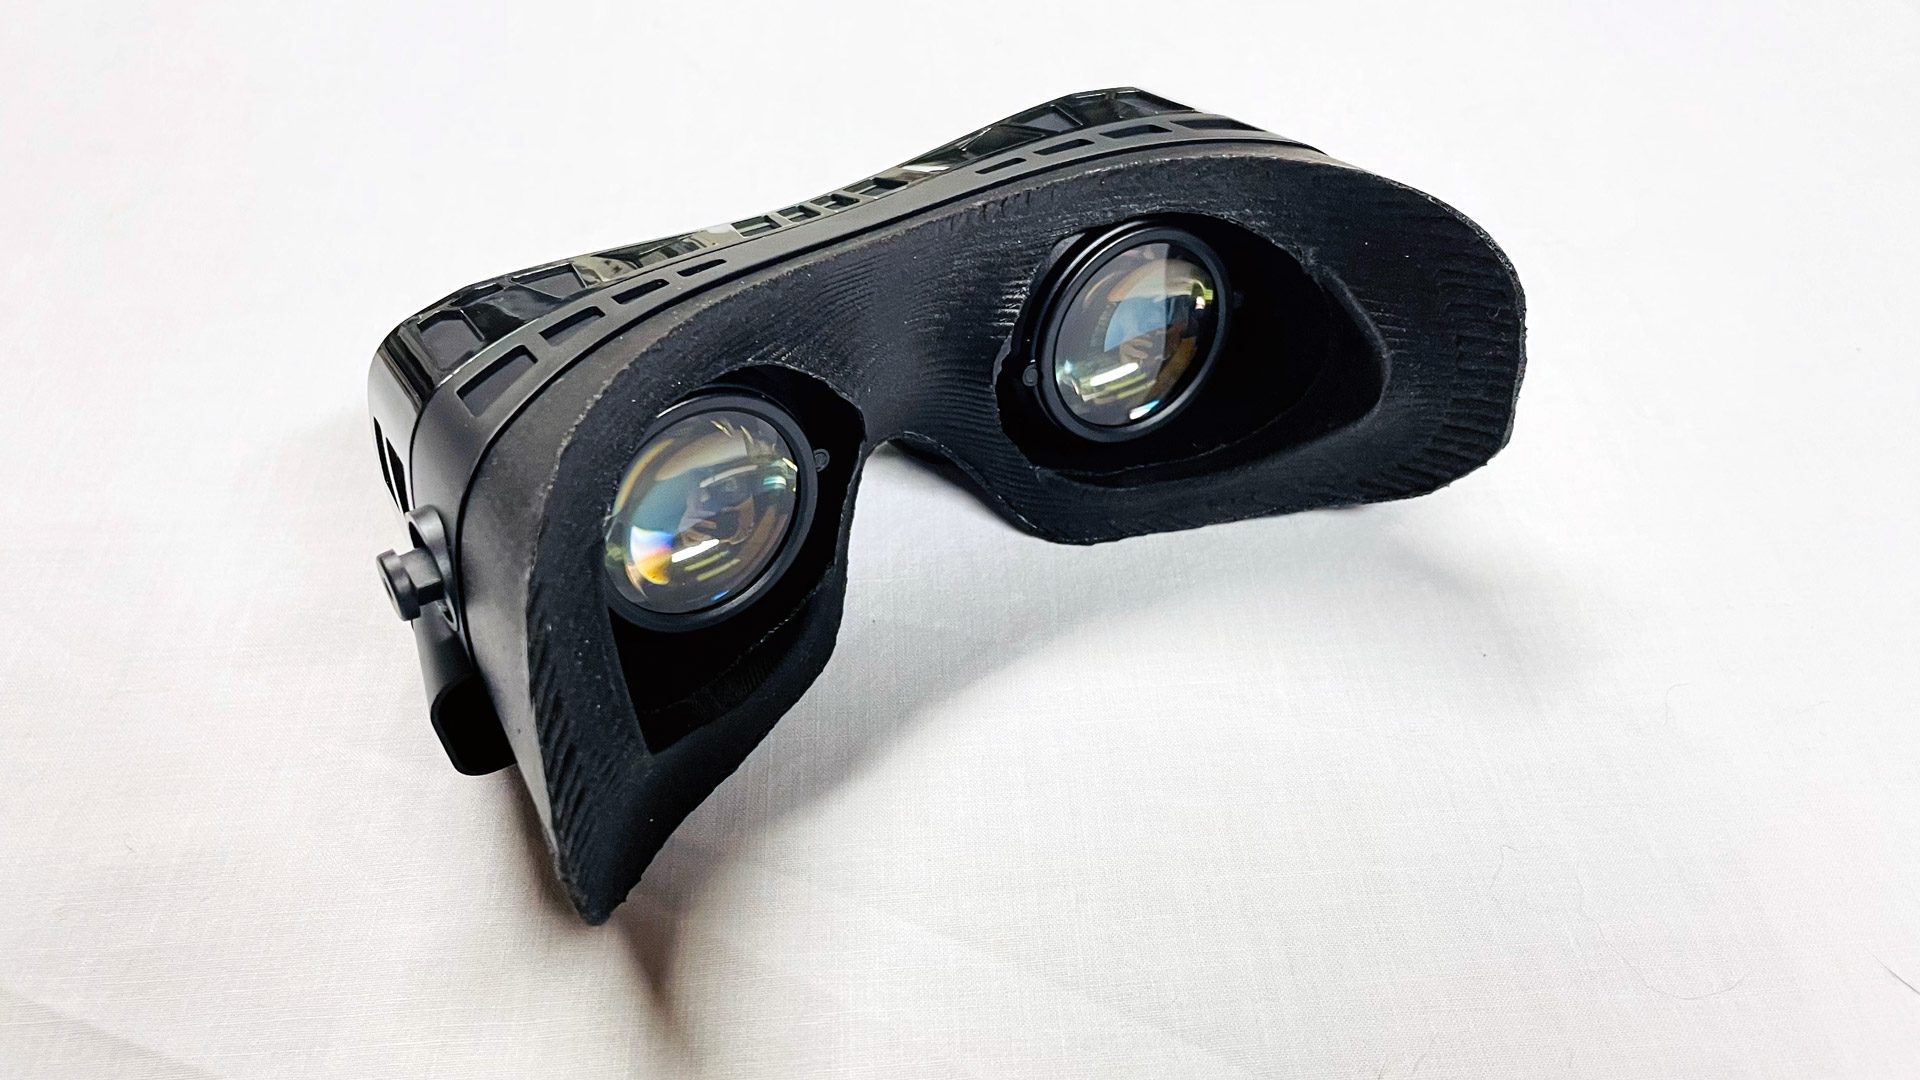
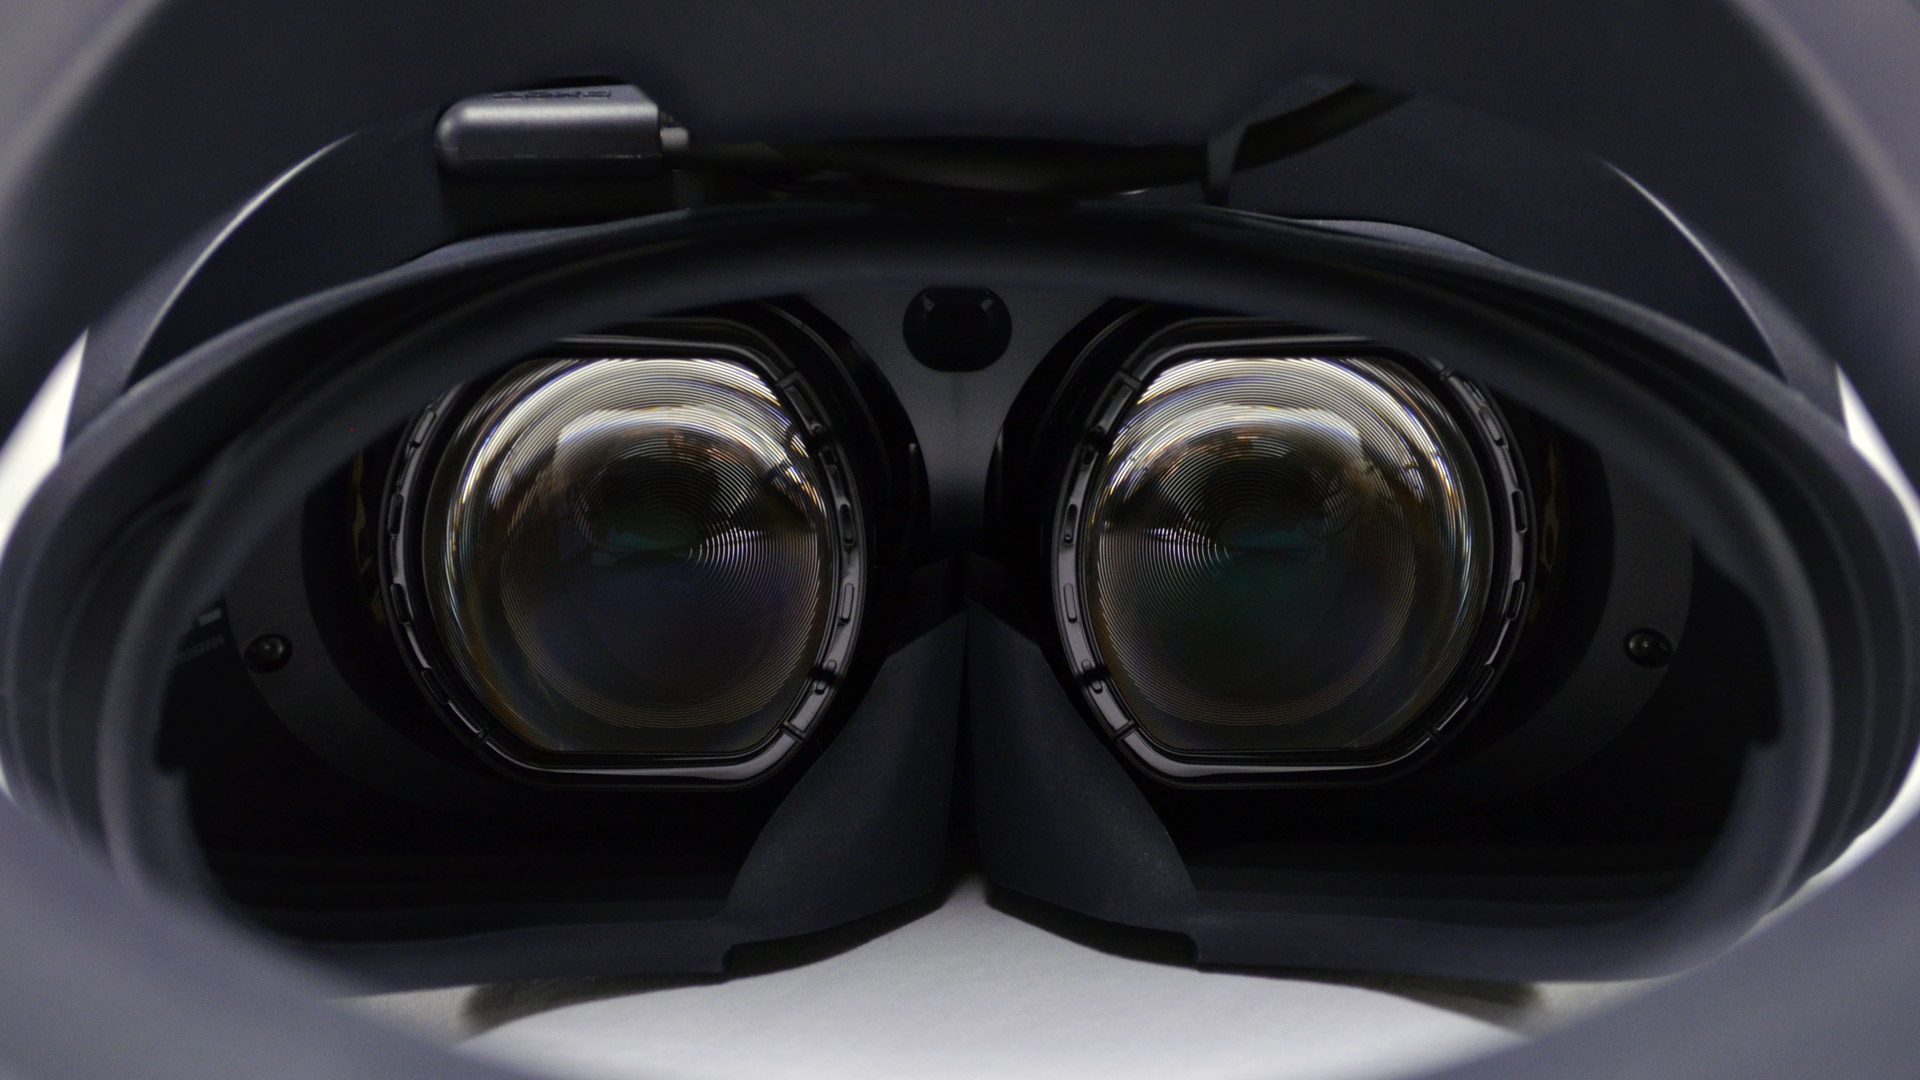
Lenses
First, and perhaps most importantly, the lenses on Quest 3 are a generational improvement over Quest 2 and other headsets of the Fresnel-era. They aren’t just more compact and sharper, they also offer a noticeably wider field-of-view and have an unmatched sweet spot that extends nearly across the entire lens. That means even when you aren’t looking directly through the center of the lens, the world is still sharp. While Quest 3’s field-of-view is also objectively larger than Quest 2, the expanded sweet spot helps amplify that improvement because you can look around the scene more naturally with your eyes and less with your head.
Glare is another place that headsets often struggle, and there we also see a huge improvement with the Quest 3 lenses. Gone are the painfully obvious god-rays that you could even see in the headset’s main menu. Now only subtle glare is visible even in scenes with extreme contrast.
Resolution and Clarity
Quest 3 doesn’t have massively higher than Quest 2, but the combination of about 30% more pixels—3.5MP per-eye (1,832 × 1,920) vs. 4.5MP per-eye (2,064 × 2,208)—a much larger sweet spot, and a huge reduction in glare makes for a headset with significantly improved clarity. Other display vitals like persistence blur, chromatic aberration, pupil swim, mura, and ghosting are all top-of-class as well. And despite the increased sharpness of the lenses, there’s still functionally no screen-door effect.
Here’s a look at the resolving power of Quest 3 compared to some other headsets:
| Headset | Snellen Acuity Test |
| Quest 3 | 20/40 |
| Quest Pro | 20/40 |
| Quest 2 | 20/50 |
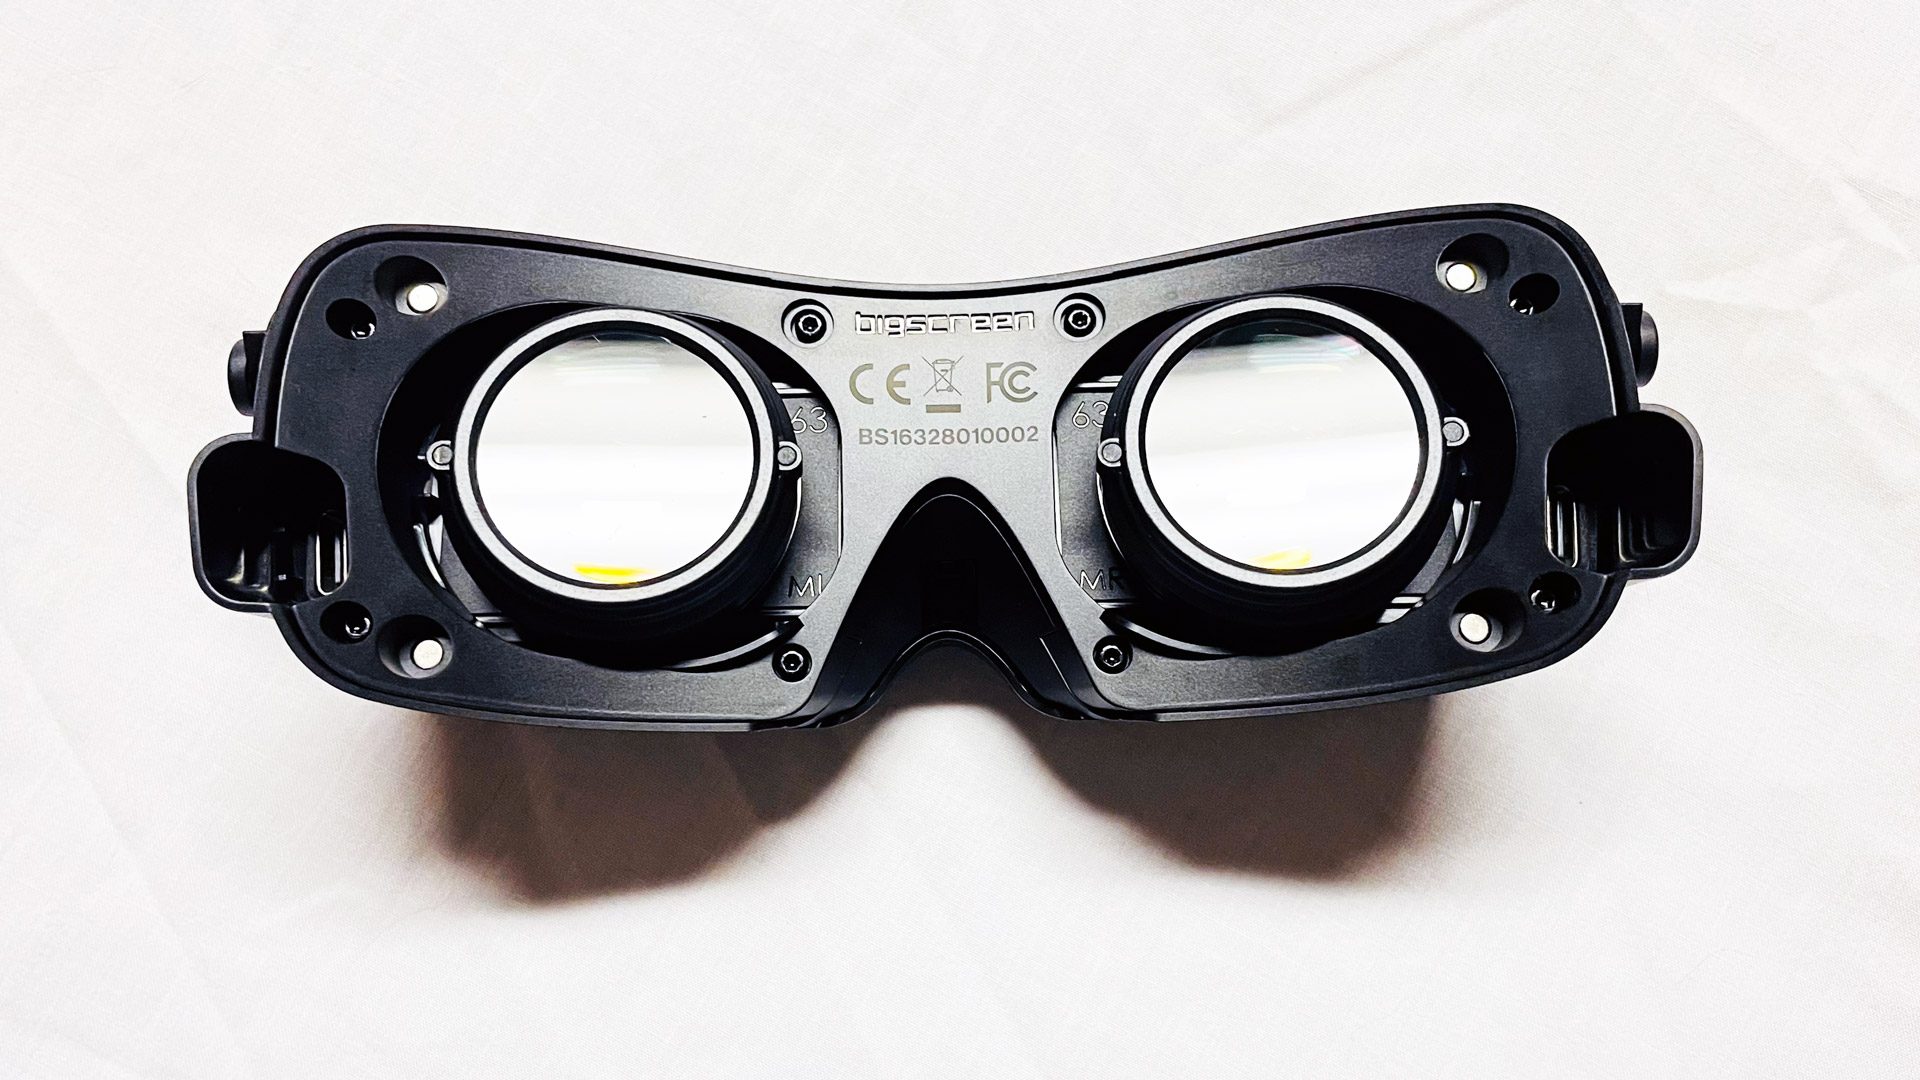
| Bigscreen Beyond | 20/30 |
| Valve Index | 20/50 |
While Quest 3 and Quest Pro score the same here in terms of resolving power, the Snellen test lacks precision; I can say for sure the Quest 3 looks a bit sharper than Quest Pro, but not enough to get it into the next Snellen tier.
While the optics of Quest 3 are also more compact than most, the form-factor isn’t radically different than Quest 2. The slightly more central center-of-gravity makes the headset feel a little less noticeable during fast head rotations, but on the whole the visual improvements are much more significant than ergonomic.
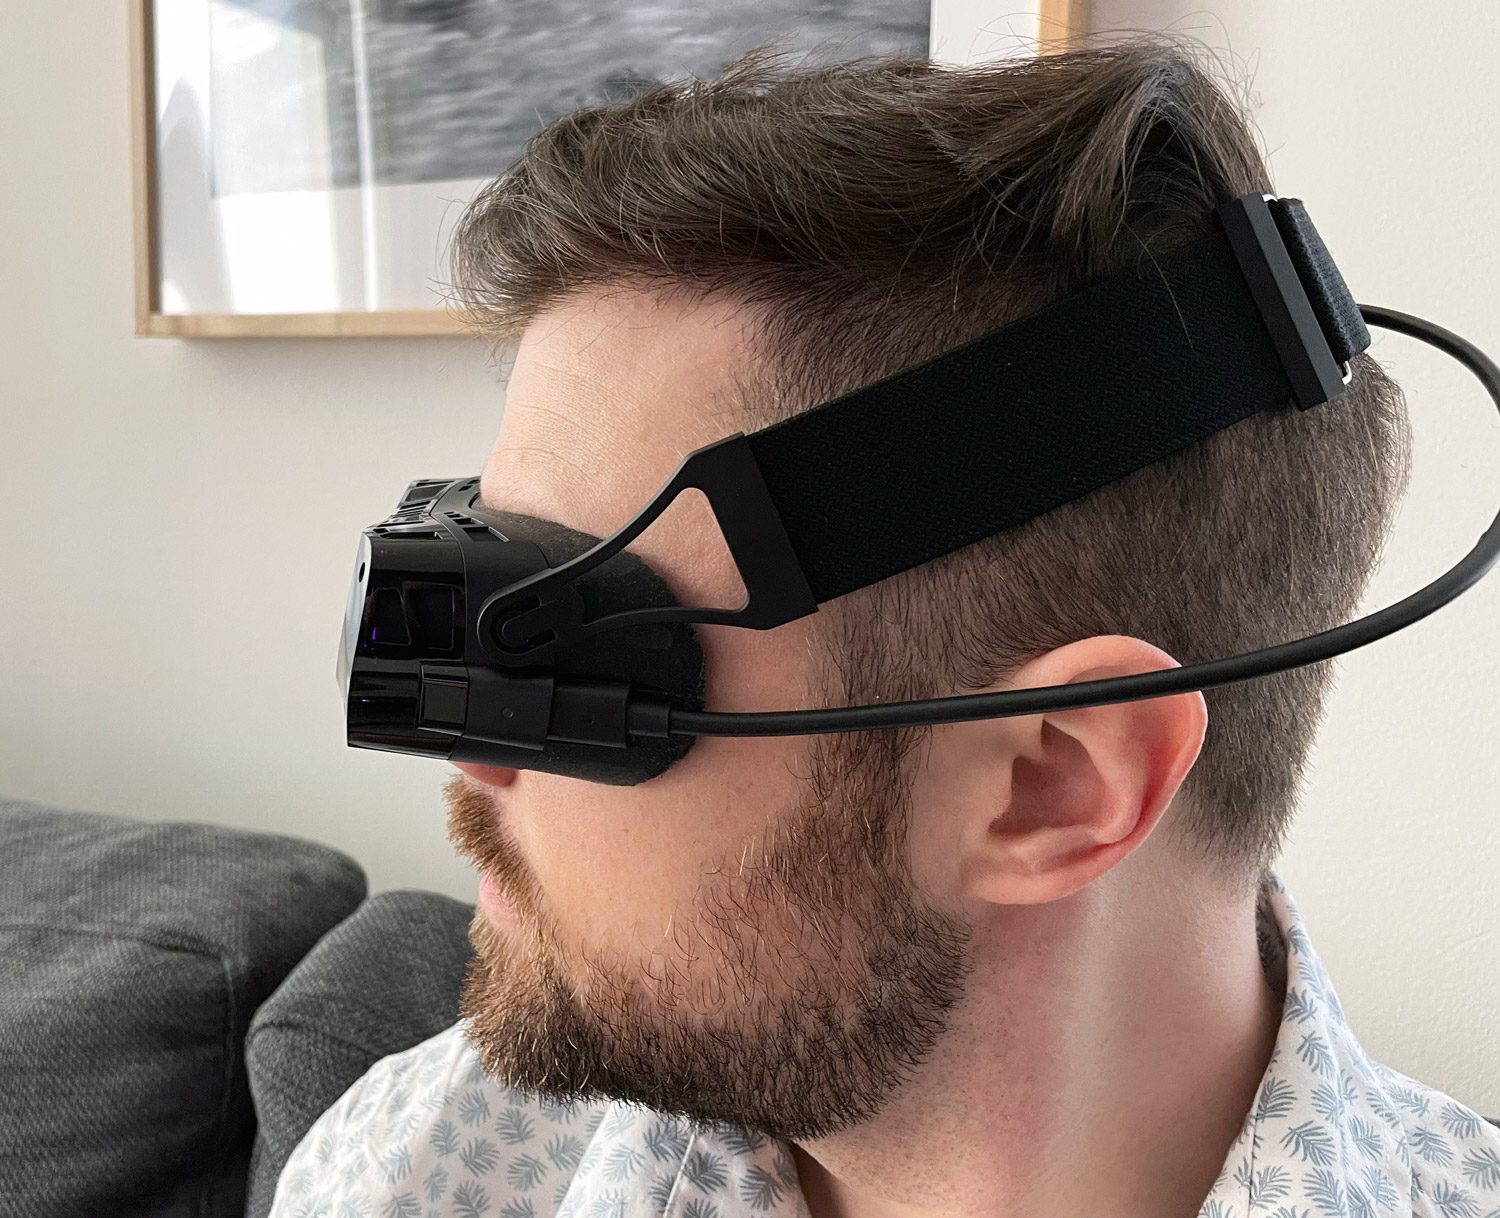
Ergonomics
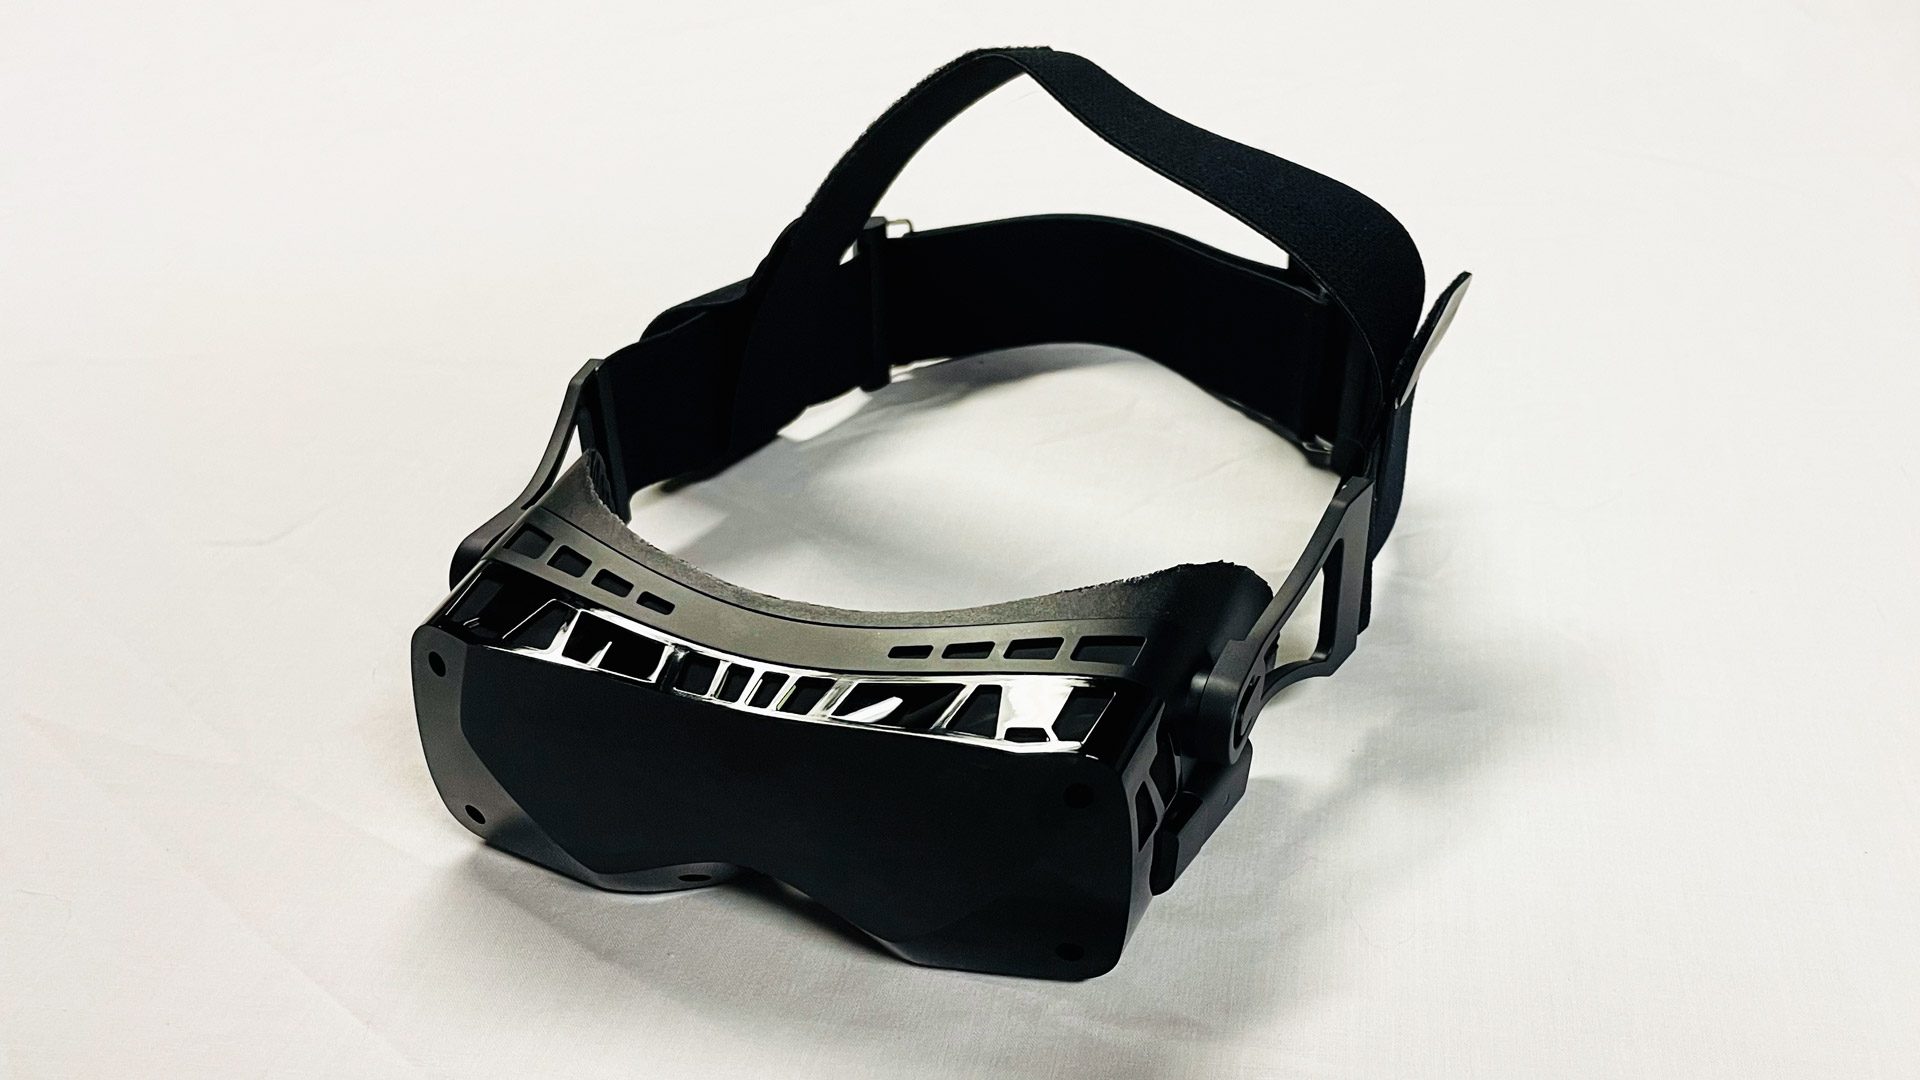
Ergonomics feels like one of just a few places where Quest 3 doesn’t see many meaningful improvements. Even though it’s a little more compact, it weighs about the same as Quest 2, and its included soft strap is just as awful. So my recommendation remains: get an aftermarket strap for Quest 3 on day one (and with a battery if you know you’re going to use the headset often). Meta’s official Elite Strap and Elite Strap with Battery are an easy choice but you can find options of equal comfort that are more affordable from third-parties. FYI: the Elite Straps are not forward or backward compatible between Quest 2 and 3.
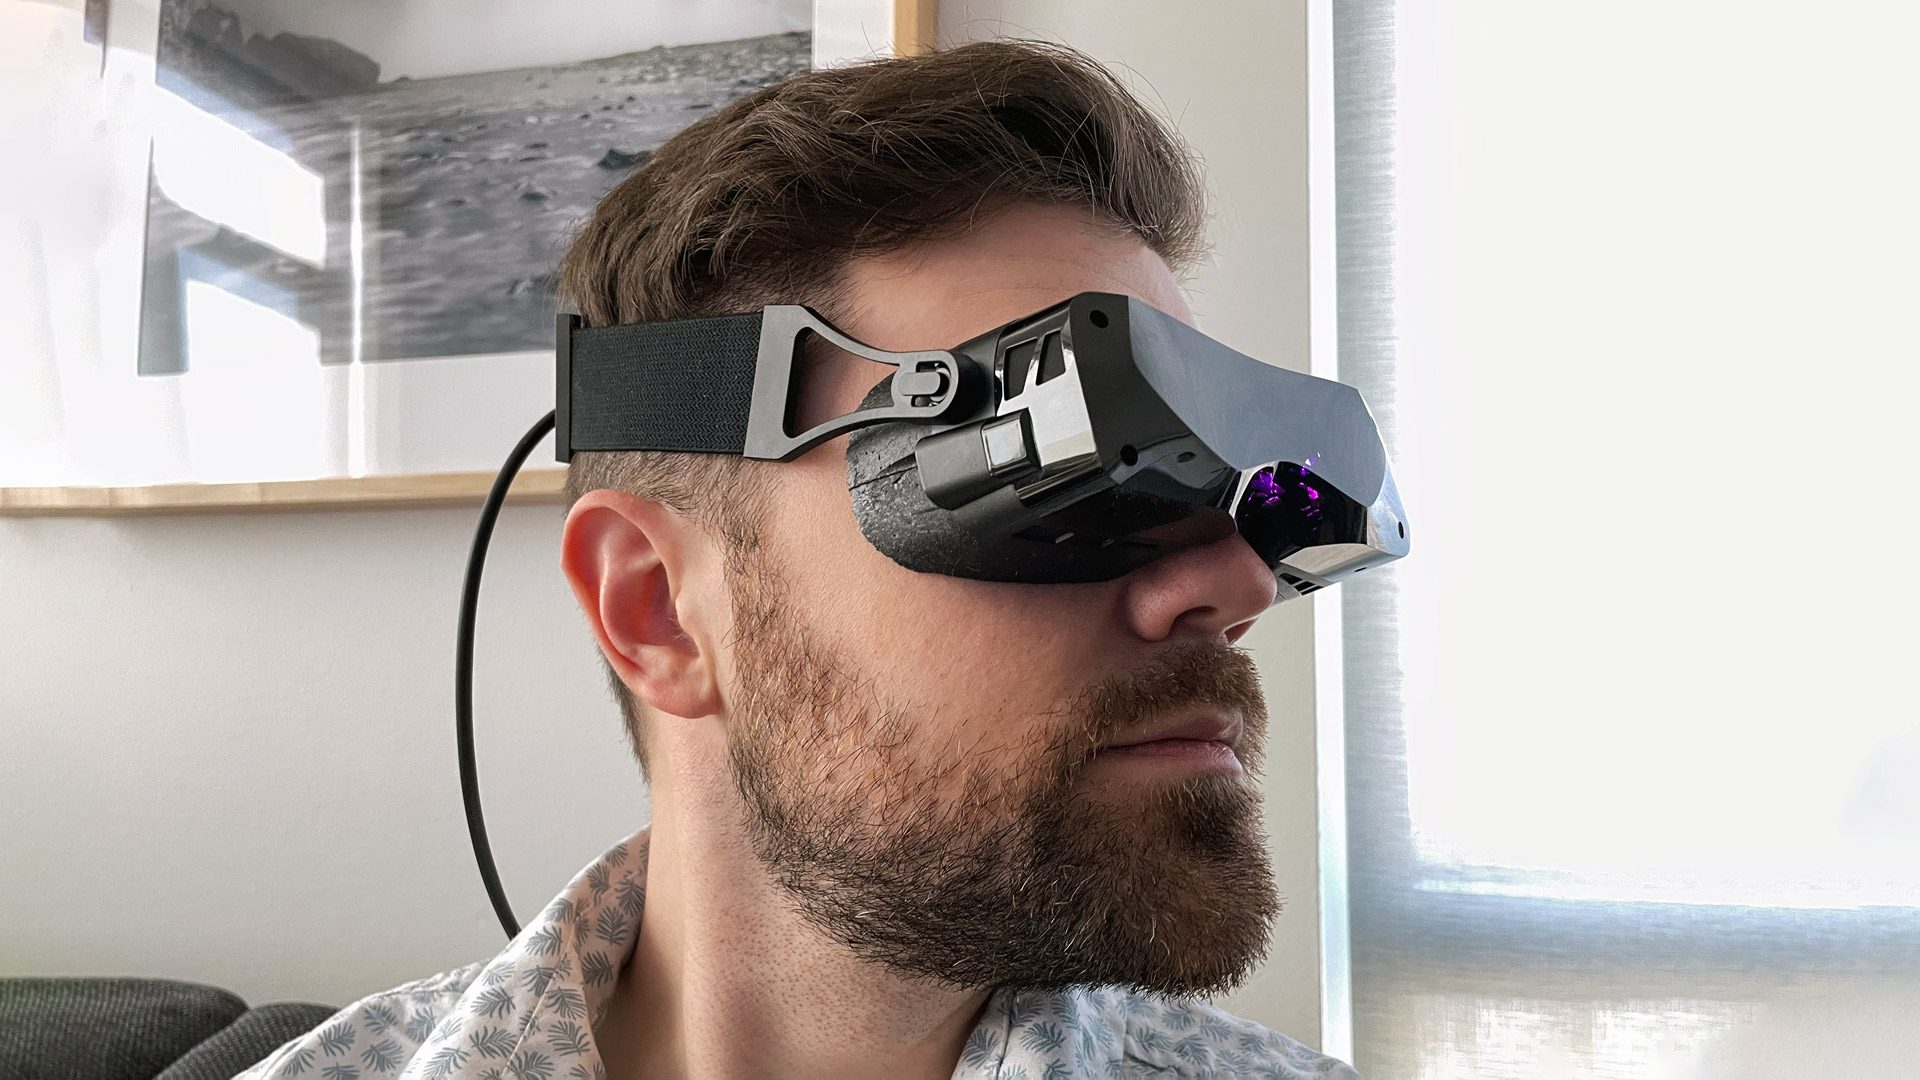
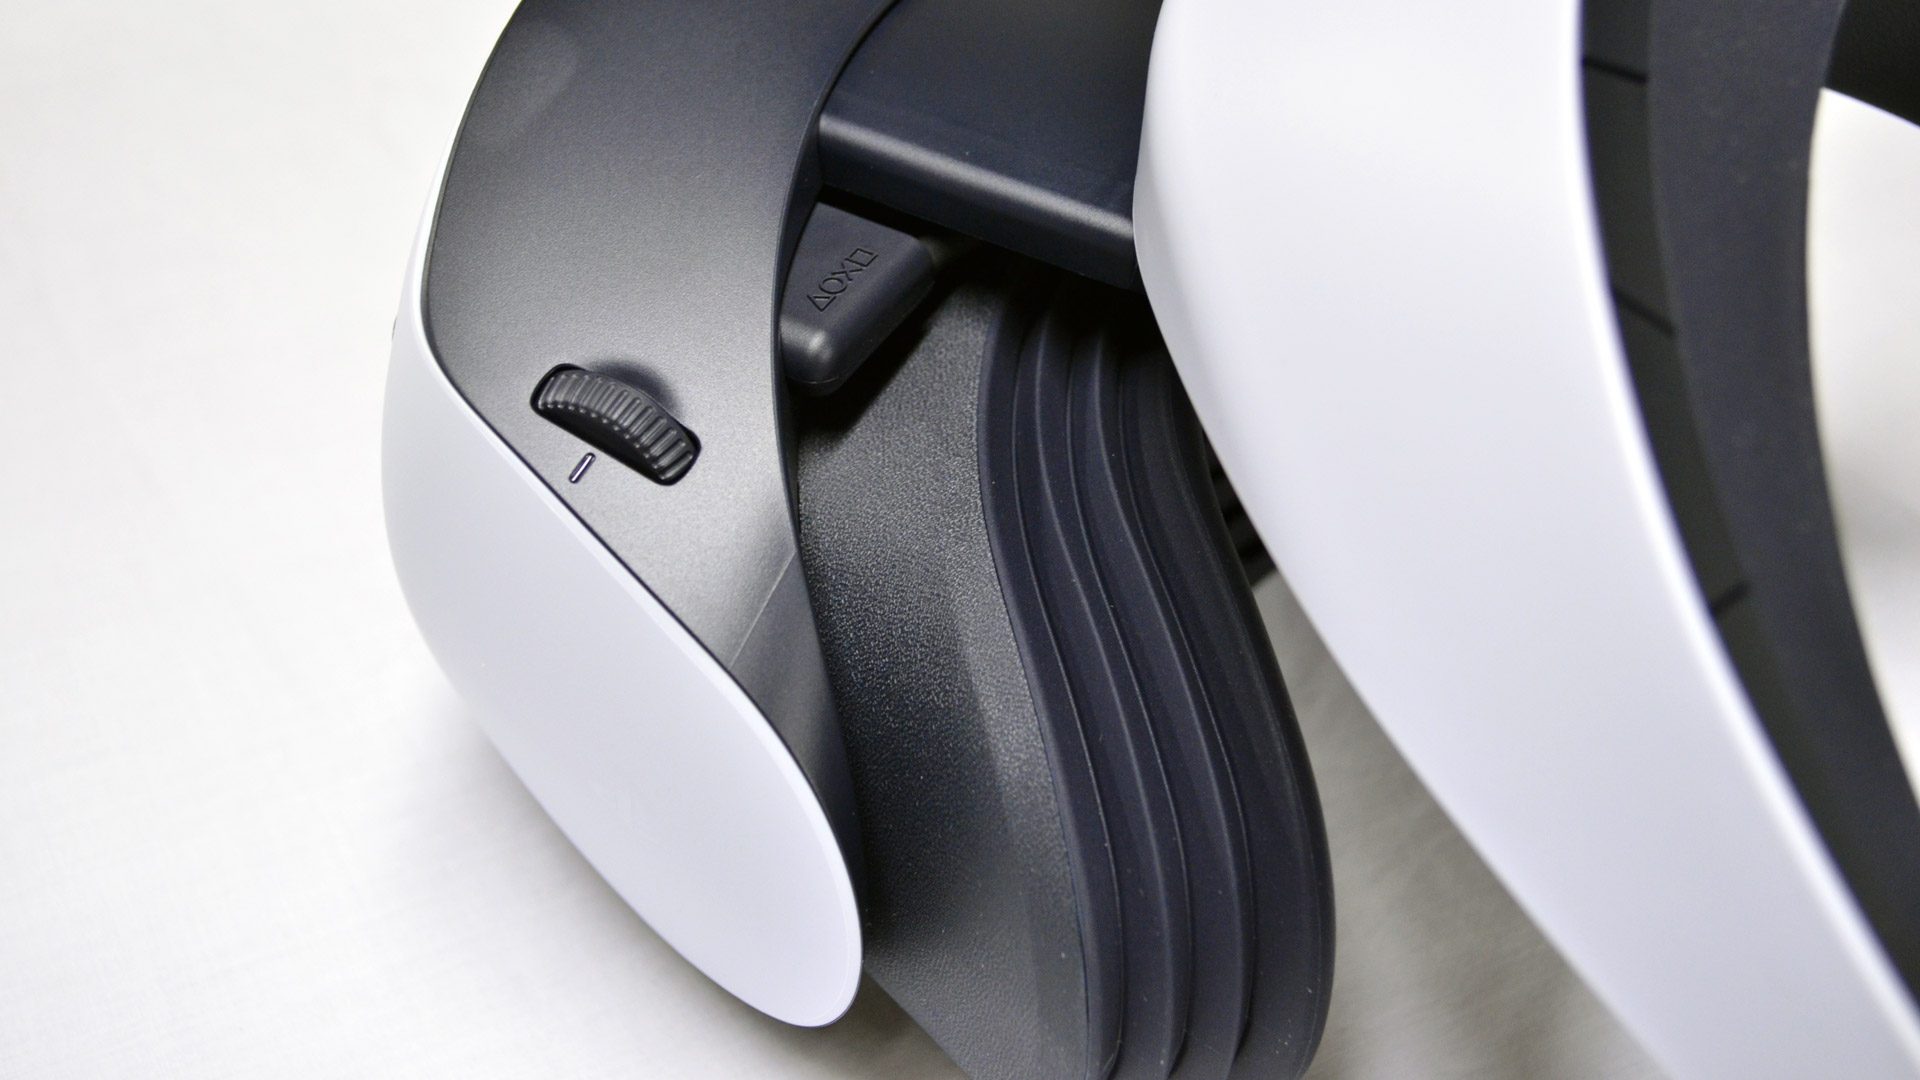
While the form-factor of the headset haven’t really improved, it’s ability to adapt to each user certainly has. Quest 3 is the most adaptable Meta headset to date, offering both continuous IPD (distance between the eyes) and notched eye-relief (distance from eye to lens) adjustments. This means that more people can dial in a good fit for the headset, giving them the best visual comfort and quality.
I was about to write “to my surprise…”—but actually this doesn’t surprise me at this point given Meta’s MO—the setup of Quest 3 either didn’t walk me through adjusting either of these settings or did so in such a nonchalant way that I didn’t even notice. Most new users will not only not know what IPD or eye-relief really does for them, but also struggle to pick their own best setting. There should definitely be clear guidance and helpful calibration.
The dial on the bottom of Quest 3 makes it easy to adjust the IPD, but the eye-relief mechanism is rather clunky. You have to push both buttons on the inside of the facepad at the same time and kind of also pull it out or push it forward. It works but I found it to be incredibly iffy.
Field-of-View
In any case, I’m happy to report that eye-relief on Quest 3 is more than just a buffer for glasses. Moving to the closest setting gave me a notably wider field-of-view than Quest 2. Here’s a look at the Quest 3 FoV:
Personal Measurements – 64mm IPD
(no glasses, measured with TestHMD 1.2)
| Absolute min eye-relief (facepad removed) | Min designed eye-relief | Comfortable eye-relief | Max eye-relief | |
| HFOV | 106° | 104° | 100° | 86° |
| VFOV | 93° | 93° | 89° | 79° |
And here’s how it stacks up to some other headsets:
Personal Measurements – 64mm IPD
(minimum-designed eye-relief, no glasses, measured with TestHMD 1.2)
| Quest 3 | Quest Pro | Quest 2 | Bigscreen Beyond | Valve Index | |
| HFOV | 104° | 94° | 90° | 98° | 106° |
| VFOV | 93° | 87° | 92° | 90° | 106° |
Audio
Another meaningful improvement for Quest 3 is improved built-in audio. While on Quest 2 I always felt like I needed to have the headset at full volume (and even then the audio quality felt like a compromise), Quest 3 gets both a volume and quality boost. Now I don’t feel like every app needs to be at 100% volume. And while I’d still love better quality and spatialization from the built-in audio, Quest 3’s audio finally feels sufficient rather than an unfortunate compromise.
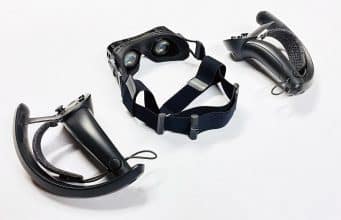
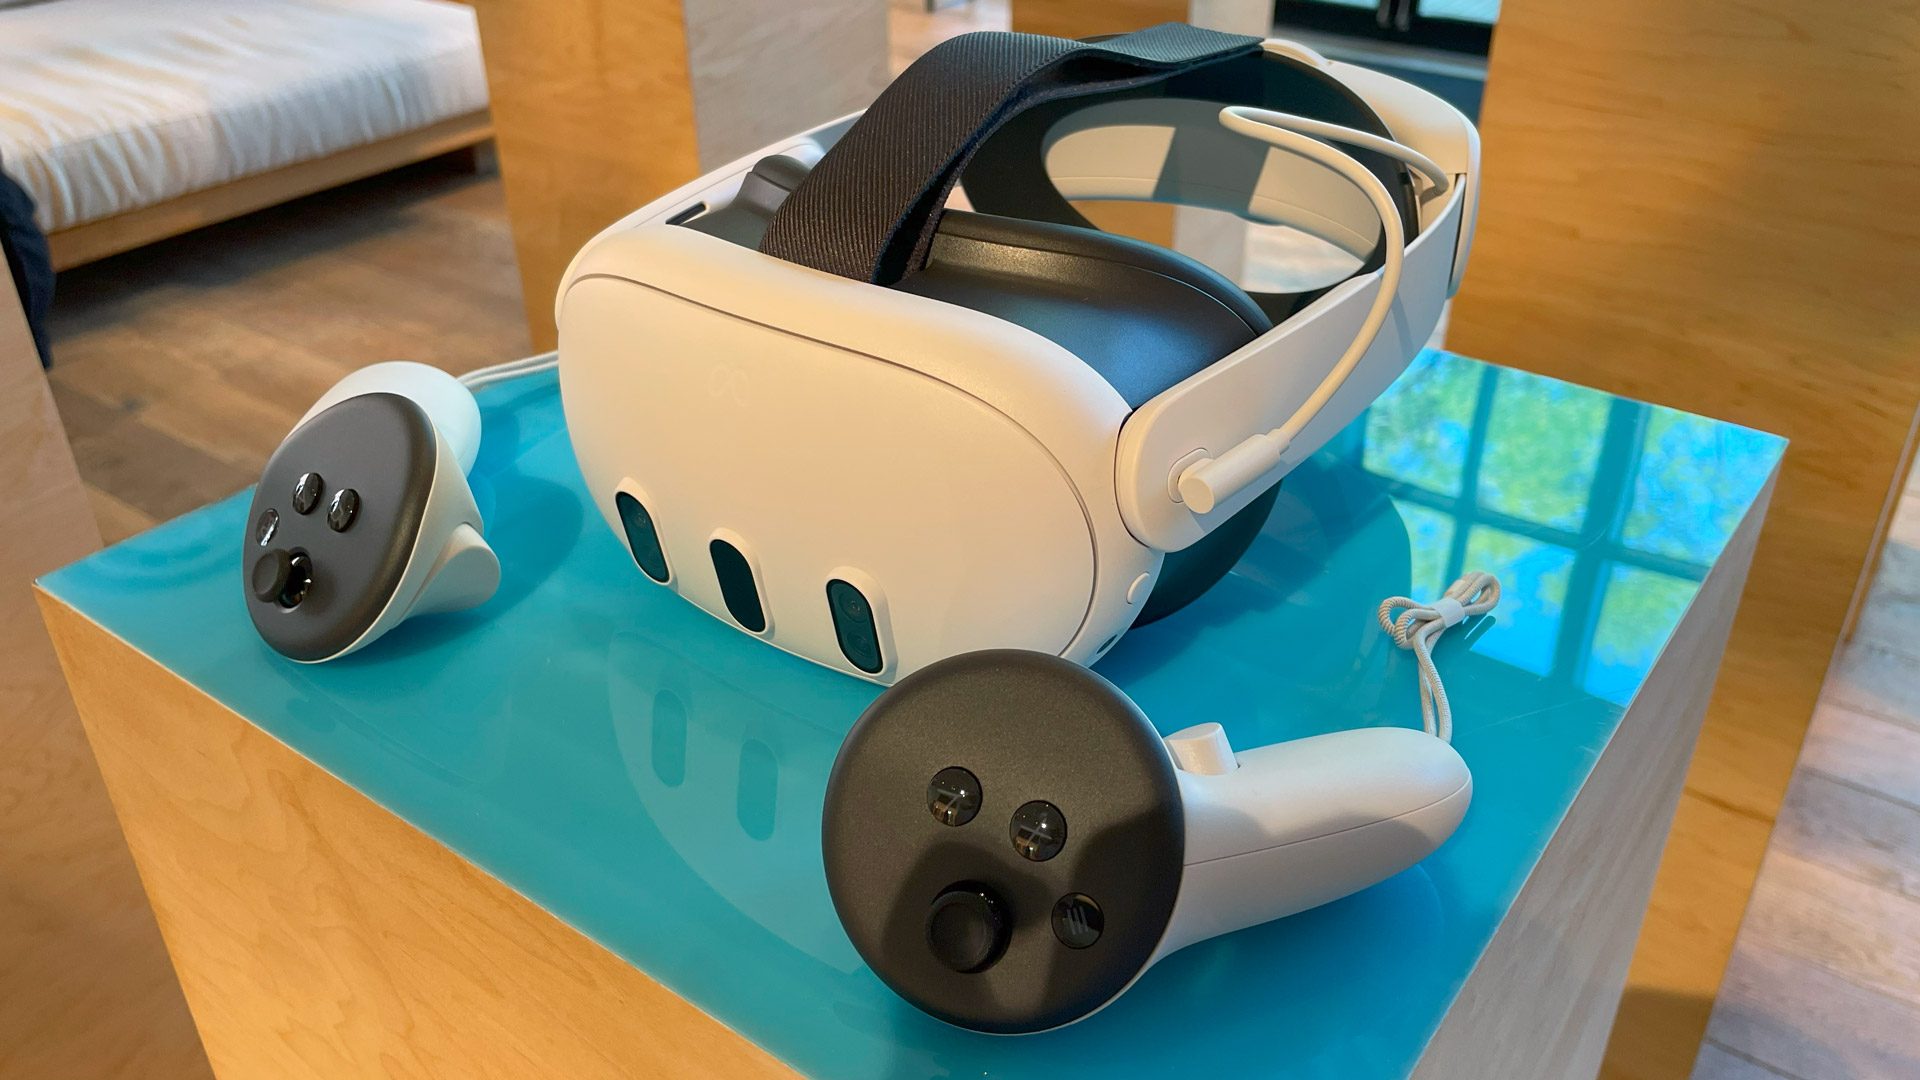
Controllers
Quest 3’s new Touch Plus controllers so far feel like they work just as well as Quest 2 controllers, but with better haptics and an improved form-factor thanks to the removal of the ring. Quest 3 is also much faster to switch between hand-tracking and controller input when you set the controllers down or pick them up.
Processor
The last major change is the new Snapdragon XR2 Gen 2 chip that powers Quest 3. While ‘XR2 Gen 1’ vs. ‘XR2 Gen 2’ might not sound like a big change, the difference is significant. The new chip has 2.6x the graphical horsepower of the prior version, according to Meta. That’s a leap-and-a-half compared to the kind of chip-to-chip updates usually seen in smartphones. The CPU boost is more in line with what we’d typically expect; Meta says it’s 33% more powerful than Quest 2 at launch, alongside 30% more RAM.
Quest 3 is still essentially a smartphone in a headset in terms of computing power, so don’t expect it to match the best of what you see on PSVR 2 or PC VR, but there’s a ton of extra headroom for developers to work with.
Continue Reading on Page 2: Softwhere? »
Quest 3 Review – A Great Headset Waiting to Reach Its Potential Read More »