I, too, installed an open source garage door opener, and I’m loving it
Open source closed garage
OpenGarage restored my home automations and gave me a whole bunch of new ideas.
Hark! The top portion of a garage door has entered my view, and I shall alert my owner to it. Credit: Kevin Purdy
Like Ars Senior Technology Editor Lee Hutchinson, I have a garage. The door on that garage is opened and closed by a device made by a company that, as with Lee’s, offers you a way to open and close it with a smartphone app. But that app doesn’t work with my preferred home automation system, Home Assistant, and also looks and works like an app made by a garage door company.
I had looked into the ratgdo Lee installed, and raved about, but hooking it up to my particular Genie/Aladdin system would have required installing limit switches. So I instead installed an OpenGarage unit ($50 plus shipping). My garage opener now works with Home Assistant (and thereby pretty much anything else), it’s not subject to the whims of API access, and I’ve got a few ideas how to make it even better. Allow me to walk you through what I did, why I did it, and what I might do next.
Thanks, I’ll take it from here, Genie
Genie, maker of my Wi-Fi-capable garage door opener (sold as an “Aladdin Connect” system), is not in the same boat as the Chamberlain/myQ setup that inspired Lee’s project. There was a working Aladdin Connect integration in Home Assistant, until the company changed its API in January 2024. Genie said it would release its own official Home Assistant integration in June, and it did, but then it was quickly pulled back, seemingly for licensing issues. Since then, no updates on the matter. (I have emailed Genie for comment and will update this post if I receive reply.)
This is not egregious behavior, at least on the scale of garage door opener firms. And Aladdin’s app works with Google Home and Amazon Alexa, but not with Home Assistant or my secondary/lazy option, HomeKit/Apple Home. It also logs me out “for security” more often than I’d like and tells me this only after an iPhone shortcut refuses to fire. It has some decent features, but without deeper integrations, I can’t do things like have the brighter ceiling lights turn on when the door opens or flash indoor lights if the garage door stays open too long. At least not without Google or Amazon.
I’ve seen OpenGarage passed around the Home Assistant forums and subreddits over the years. It is, as the name implies, fully open source: hardware design, firmware, and app code, API, everything. It is a tiny ESP board that has an ultrasonic distance sensor and circuit relay attached. You can control and monitor it from a web browser, mobile or desktop, from IFTTT, MQTT, and with the latest firmware, you can get email alerts. I decided to pull out the 6-foot ladder and give it a go.
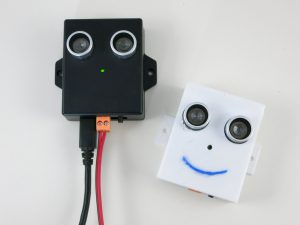
Prototypes of the OpenGarage unit. To me, they look like little USB-powered owls, just with very stubby wings. Credit: OpenGarage
Installing the little watching owl
You generally mount the OpenGarage unit to the roof of your garage, so the distance sensor can detect if your garage door has rolled up in front of it. There are options for mounting with magnetic contact sensors or a side view of a roll-up door, or you can figure out some other way in which two different sensor depth distances would indicate an open or closed door. If you’ve got a Security+ 2.0 door (the kind with the yellow antenna, generally), you’ll need an adapter, too.
The toughest part of an overhead install is finding a spot that gives the unit a view of your garage door, not too close to rails or other obstructing objects, but then close enough for the contact wires and USB micro cable to reach. Ideally, too, it has a view of your car when the door is closed and the car is inside, so it can report its presence. I’ve yet to find the right thing to do with the “car is inside or not” data, but the seed is planted.
OpenGarage’s introduction and explanation video.
My garage setup, like most of them, is pretty simple. There’s a big red glowing button on the wall near the door, and there are two very thin wires running from it to the opener. On the opener, there are four ports that you can open up with a screwdriver press. Most of the wires are headed to the safety sensor at the door bottom, while two come in from the opener button. After stripping a bit of wire to expose more cable, I pressed the contact wires from the OpenGarage into those same opener ports.
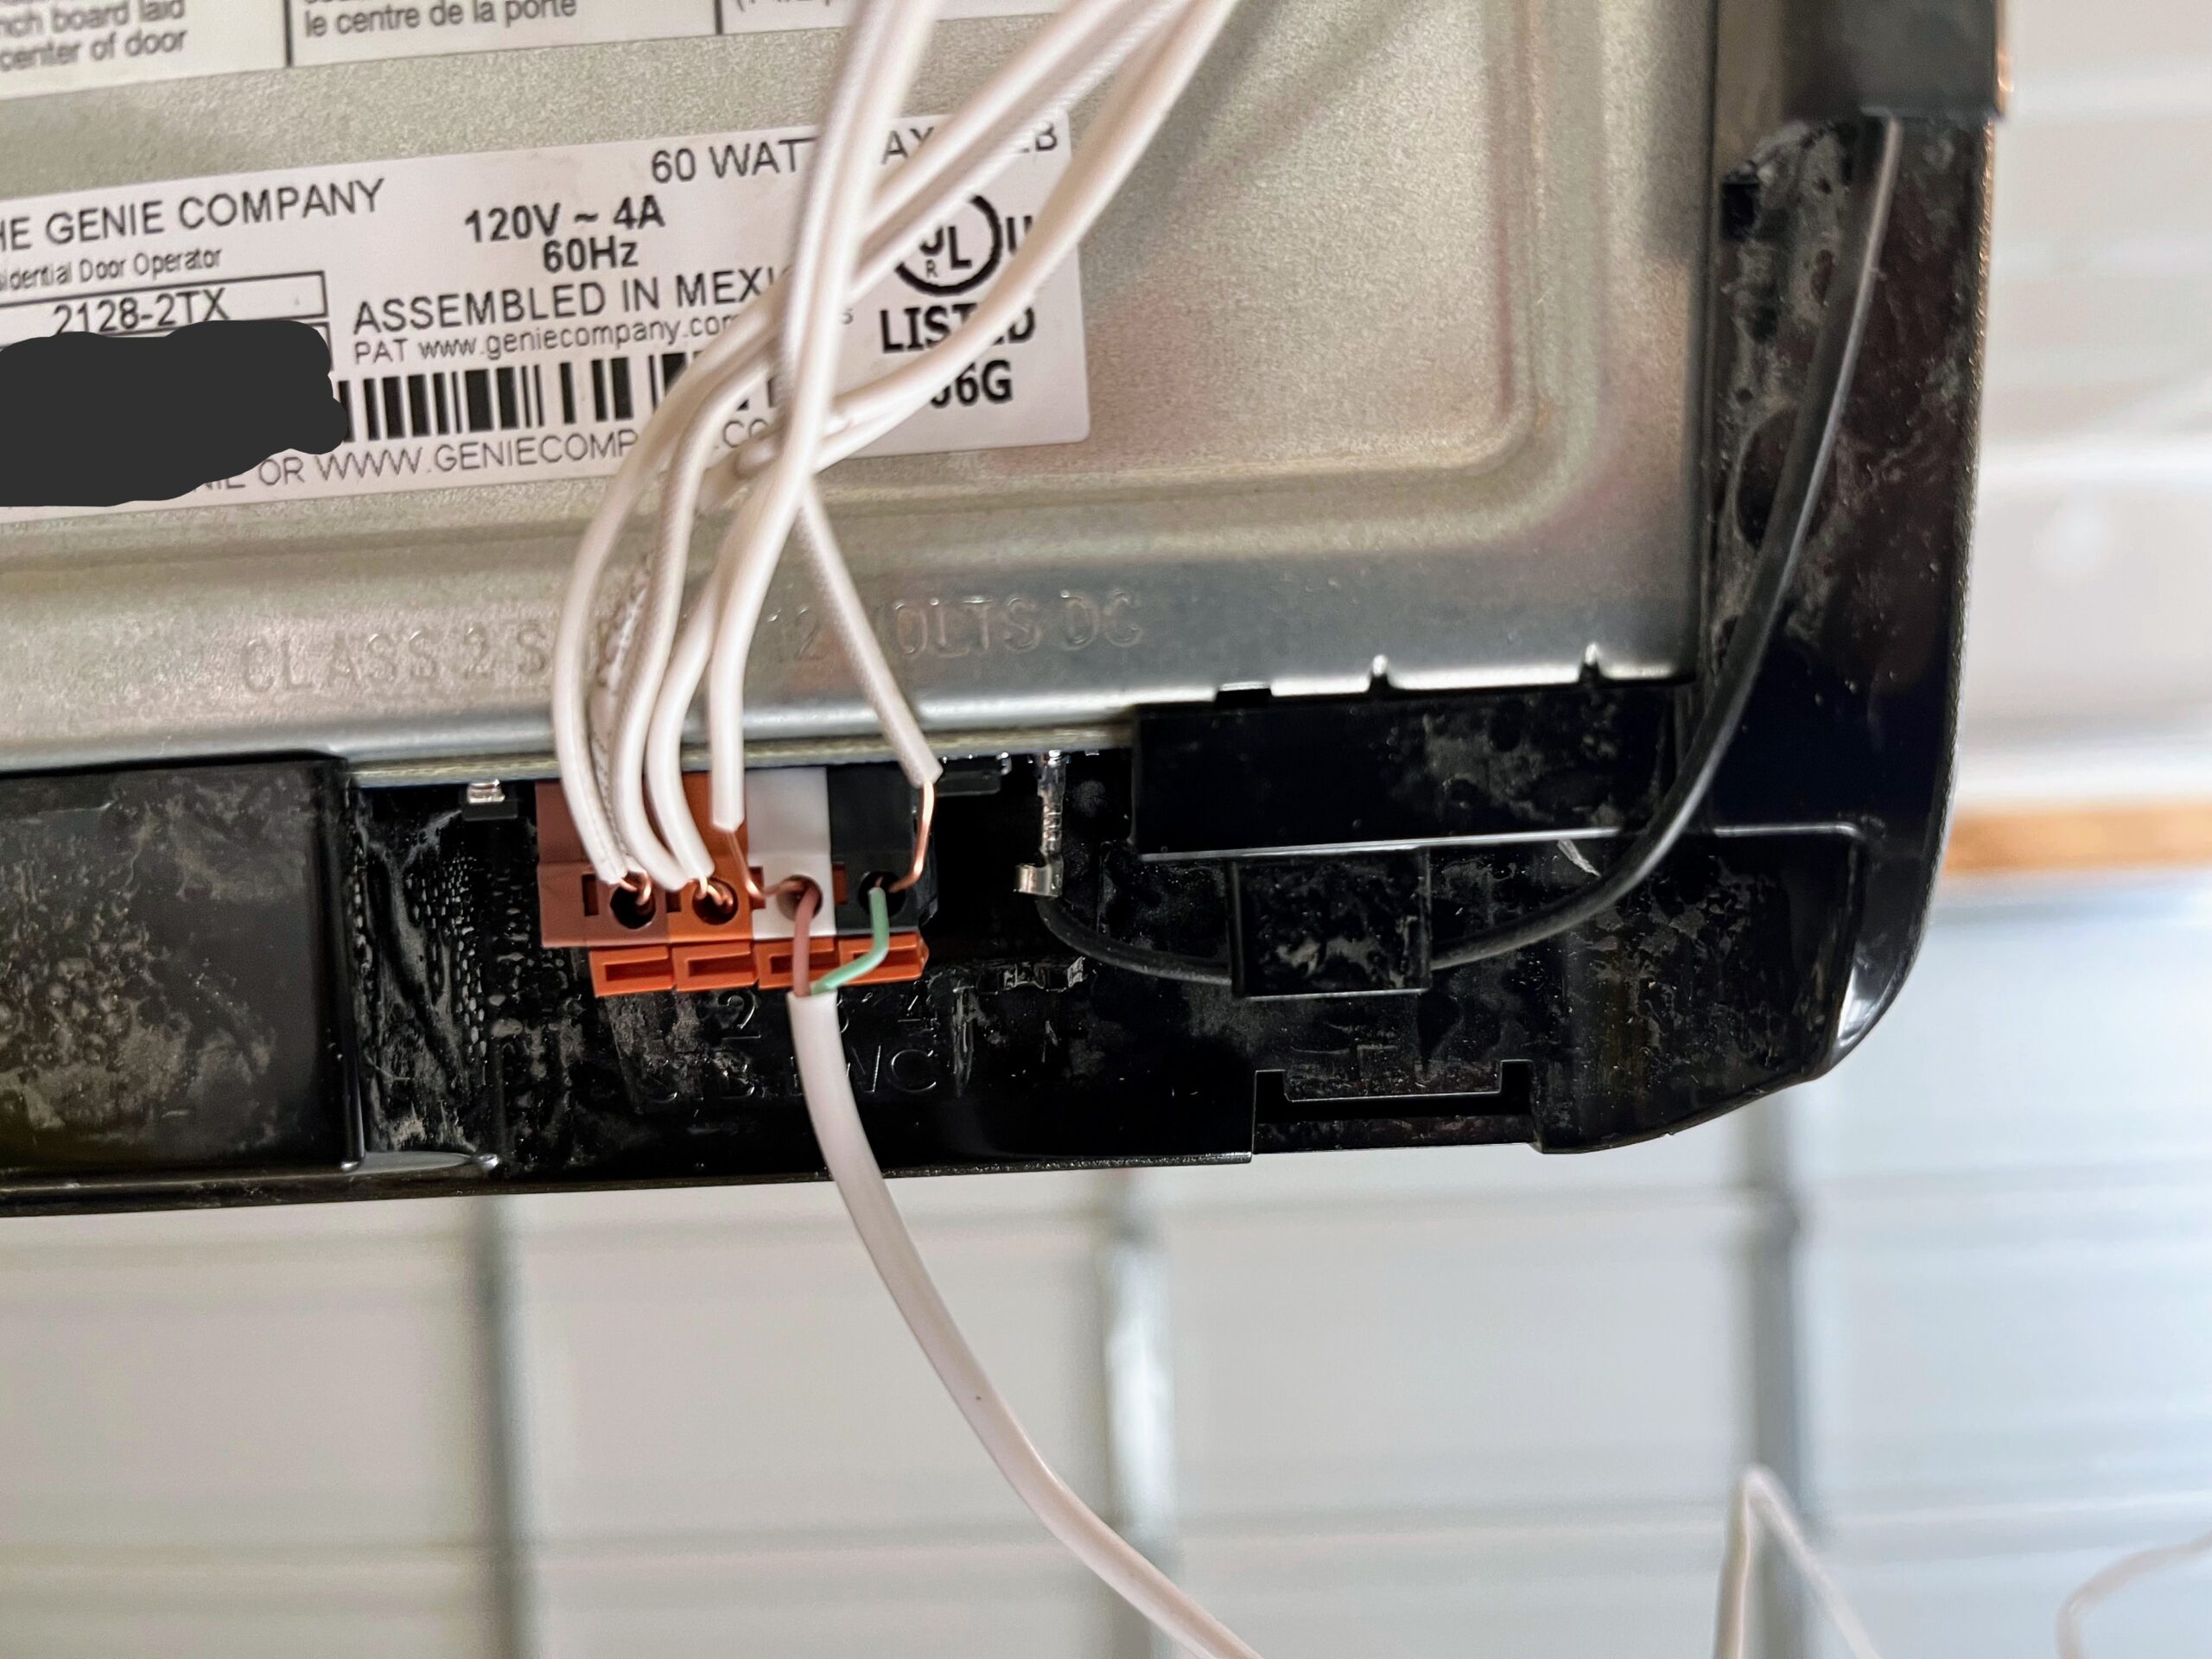
The wire terminal on my Genie garage opener. The green and pink wires lead to the OpenGarage unit. Credit: Kevin Purdy
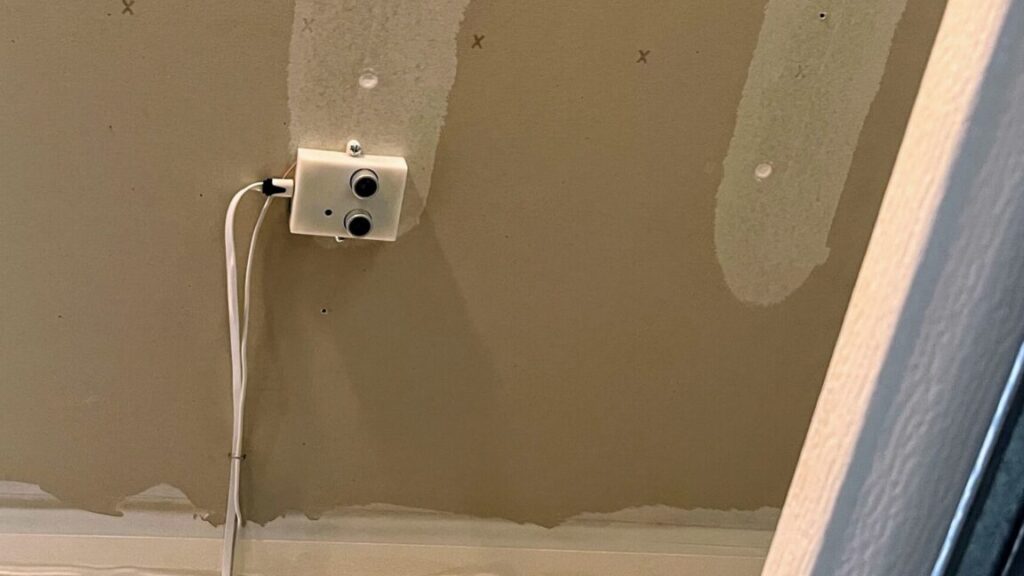
After that, I connected the wires to the OpenGarage unit’s screw terminals, then did some pencil work on the garage ceiling to figure out how far I could run the contact and micro-USB power cable, getting the proper door view while maintaining some right-angle sense of order up there. When I had reached a decent compromise between cable tension and placement, I screwed the sensor into an overhead stud and used a staple gun to secure the wires. It doesn’t look like a pro installed it, but it’s not half bad.

Where I ended up installing my OpenGarage unit. Key points: Above the garage door when open, view of the car below, not too close to rails, able to reach power and opener contact. Credit: Kevin Purdy
A very versatile board
If you’ve got everything placed and wired up correctly, opening the OpenGarage access point or IP address should give you an interface that shows you the status of your garage, your car (optional), and its Wi-Fi and external connections.
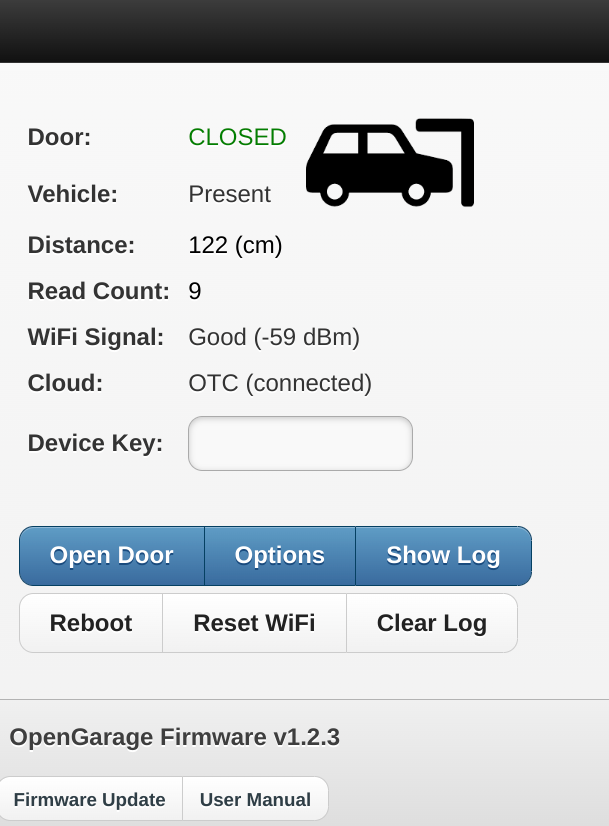
The landing screen for the OpenGarage. You can only open the door or change settings if you know the device key (which you should change immediately). Credit: Kevin Purdy
It’s a handy webpage and a basic opener (provided you know the secret device key you set), but OpenGarage is more powerful in how it uses that data. OpenGarage’s device can keep a cloud connection open to Blynk or the maker’s own OpenThings.io cloud server. You can hook it up to MQTT or an IFTTT channel. It can send you alerts when your garage has been open a certain amount of time or if it’s open after a certain time of day.
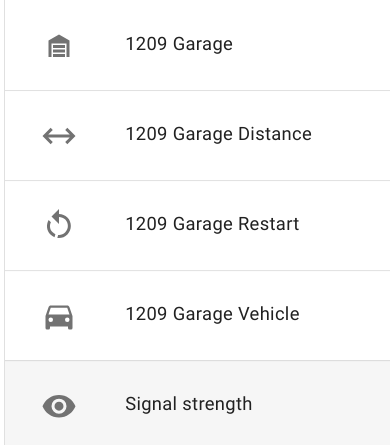
You’re telling me you can just… see the state of these things, at all times, on your own network? Credit: Kevin Purdy
You really don’t need a corporate garage coder
For me, the greatest benefit is in hooking OpenGarage up to Home Assistant. I’ve added an opener button to my standard dashboard (one that requires a long-press or two actions to open). I’ve restored the automation that turns on the overhead bulbs for five minutes when the garage door opens. And I can dig in if I want, like alerting me that it’s Monday night at 10 pm and I’ve yet to open the garage door, indicating I forgot to put the trash out. Or maybe some kind of NFC tag to allow for easy opening while on a bike, if that’s not a security nightmare (it might be).
Not for nothing, but OpenGarage is also a deeply likable bit of indie kit. It’s a two-person operation, with Ray Wang building on his work with the open and handy OpenSprinkler project, trading Arduino for ESP8266, and doing some 3D printing to fit the sensors and switches, and Samer Albahra providing mobile app, documentation, and other help. Their enthusiasm for DIY home control has likely brought out the same in others and certainly in me.
I, too, installed an open source garage door opener, and I’m loving it Read More »
